
Sometimes, you may feel frustrated when you look at the form submissions that you get from a web form and find out that the respondents did not fill in some crucial details. This calls for some details on the form to become mandatory to fill in. for example, a form that is used to subscribe visitors to regular newsletters via email will be of no use if the user does not enter their email address. In case you are shipping products to the user, it will be necessary that you make sure that they enter their address on the form. In this article, we will see some of the built-in validations supported by DreamWeaver.

The advantage is that you can add those validations right from DreamWeaver. These are known as Spry validation widgets. With Spry validation widgets, you can verify the input in a text field, a check box, a text area, a group of radio buttons and even a pull-down(drop-down) menu. You are also able to limit the input to specific information type such as date/time, phone numbers, email addresses or even the length of input inside a text box.
The process is quite simple which we will see it in the following steps.
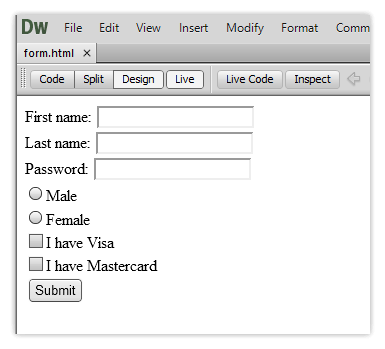
1. Create the form
Create the form in Dreamweaver using the Window->Insert->form menu item. Add the input elements like multiline text box, text field, and other elements in the form as well. Once you have created the form, it is now time to include the validation with Spry.
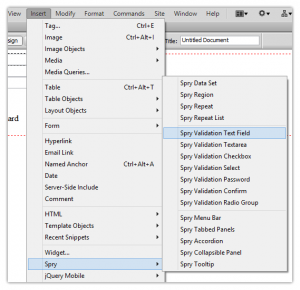
2. Insert Spry Validation
Select the form element then click on the appropriate Spry form button on the Insert panel. In order to add validation to a group of radio buttons, you need to create them as part of the Spry Validation Group Widget. Dreamweaver will add the code to validate the entries in the fields. The Spry widget will add some JavaScript code in order to validate information entered into the fields and CSS in order to customize the look of the error messages and the entry fields.
A pop up window will also appear informing you that CSS and JavaScript files have been added to the root folder of your site.

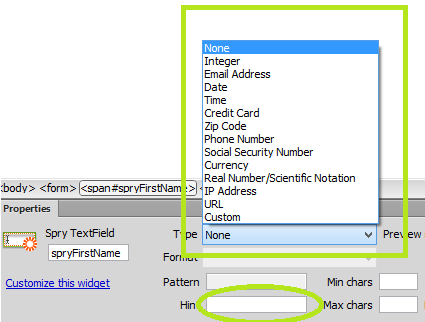
3. Select the validation type
The most basic type of validation makes sure that something has been typed into a field and it is not left blank or unselected. However, there are additional validation options for every field in the form.
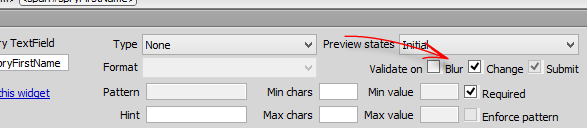
4. The trigger for the validation
In most cases, the validation is triggered when the submit button is clicked. However, this may be too late in long forms. With the Spry widget, you can do the validation as soon as the user enters data into the form fields giving instant feedback.
For example, when the user enters their email address in the incorrect format and moves on to the next field, you can notify them immediately.
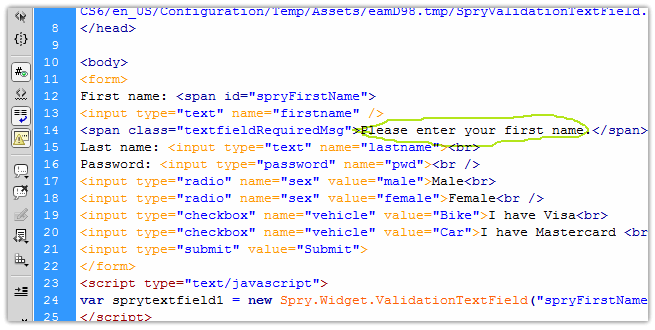
5. Customize the error message
When your visitors leave blank fields inside the form or enters incorrect data, you need to inform them about what went wrong and how it can be fixed. For example, leaving a text field entry blank may bring up an error like “A value is required”. However, this is not helpful enough to the user. These error messages can be changed in Design view by selecting the error message text and typing in the new error message. For example the “Invalid Format” error message can be changed to read something like “Please enter a valid email address like someone@gmail.com”.
See Also
- The Most Indispensable jQuery Form Validation Reference Guide
- JavaScript Form Validation : quick and easy!
- JavaScript Form Validation Script: More features
- Simfatic Forms Validation: save your time coding
- JavaScript Form Validation - Confirm Password
- JavaScript Form Validation - Date
- JavaScript Form Validation - Phone Numbers
- JavaScript zip code validation
- Javascript code to validate email addresses
- Javascript password validation alphanumeric string